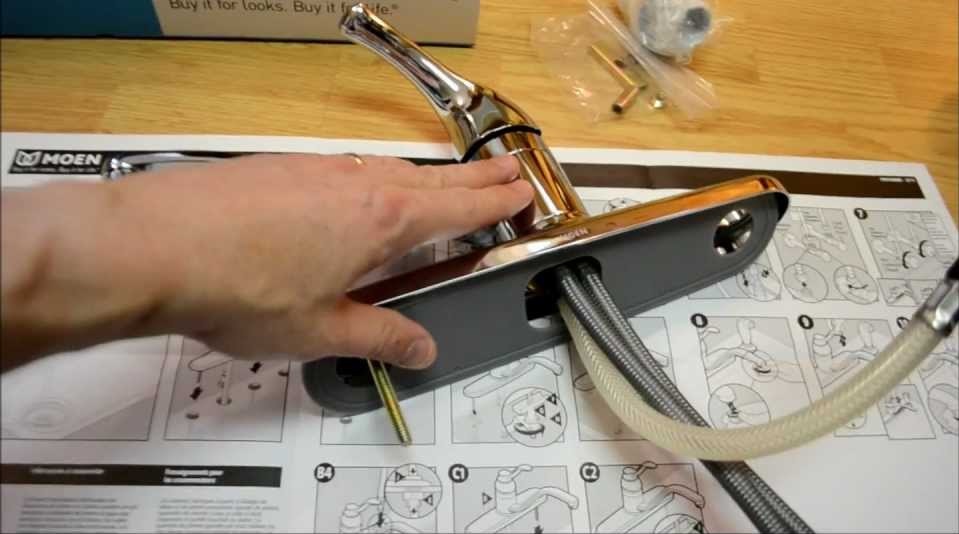
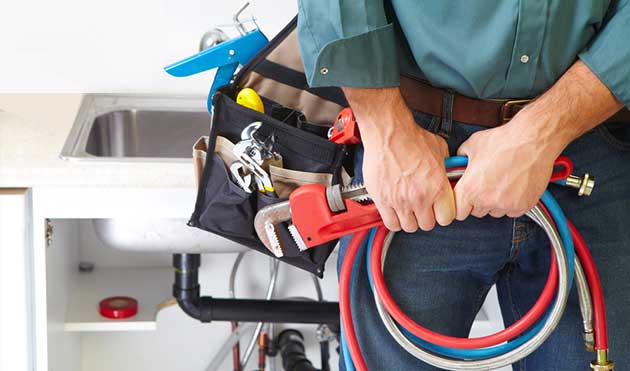
Kitchen faucets, or taps, are one of the most heavily used faucets in our houses. That is the reason that they often develop faults and start leaking. Some people do not pay attention until the faucets stop working completely. A leaking faucet costs you a considerable amount of money in the water bill payments and causes water pollution as well. In this water plumbers tutorial, we will learn to replace a kitchen faucet.

Shut off the water supply to the kitchen faucet. Remove the old water supply lines to expose the holes in the sink. Cut the old plastic sprayer line with the help of snips or scissors. Loosen up both the hot and cold water lines with the help of basin wrench and unscrew the lines. There will be a sudden overflow of the water. Be ready to handle it.
Remove the bolts of the old faucet and remove the faucet body from the sink. Remove the locking nut and the soap container from the dispenser. Apply a generous amount of plumber’s putty around the bottom edge and insert it into the appropriate hole. Next, take the escutcheon cover, apply plumber’s putty to its underside, and place it over the three center holes on the sink firmly. Next, fit the faucet in the escutcheon cover and then position the handles in the proper direction.
Now, you need to position the supply lines. To do this, partially thread two screws into the ring until they bulge from the backside. Slide the ring over, metal washer and the fiber washer over the supply lines. Now, tight down everything. Next, use a basin wrench to tighten the plastic locking nut onto the shank of the soap dispenser.
Slide the weight onto the sprays to connect the two ends and lock them securely into the place. Check the water supplies for any leakage. If it is working OK, remove the excess putty to finalize the installation.


